You’ve probably seen some amazing pictures of the Northern Lights, and if you’ve ended up on this page, chances are you are wondering how to take equally epic pictures yourself. It’s not the easiest target, especially if you’re not used to shooting night pictures or taking pictures of lights. But just like everything else, practice makes perfect, and below we’ve put together a few helpful tips that’ll hopefully give you some pointers along the way.
Before you head off for a Northern Lights photo chase, there’s a few things to keep in mind. So let's get the preparations out of the way, first things first.
Find the Lights – By escaping the lights! To get a proper view of aurora borealis it’s important to escape the light pollution and get away from the city and all the bright lights. Before you venture out on a Northern Lights photo shoot, it’s a good idea to do some research and find the best local lookout spots in the region you are in.
Pay attention to the forecast. There’s no use in chasing aurora borealis during cloudy weather or when the sky is too bright to be able to see the green lady dance. To get a proper view of the Northern Lights, you need a dark and clear sky.
There’s also a few different apps and websites offering aurora forecasts that can help you predict the chances of the lights occurring in your area.Bring spare batteries. You might want to keep an extra pair of batteries in your pocket. In cold weather batteries tend to drain quicker and you don’t want to lose power right before you get your million dollar shot.
Wear warm clothes. The Arctic regions are cold, so whether you are chasing the lights in Northern Norway, Iceland, Greenland or somewhere else, you’re probably in for a cold adventure.The temperature and weather conditions can change fast in these areas, so it’s best to dress warm and in layers to help you keep warm. This will ensure that you get a good and memorable experience – plus you can’t be expected to take pictures with frozen, shaky fingers!
The Tech Stuff
Use manual settings (if you have them) – When photographing the lights, it’s best to use a camera with manual settings – preferably a DSLR camera – so that you can control all the various settings yourself. Before you start shooting, set your camera to manual mode and make sure the flash is switched off.
Use a tripod – As the lights are constantly moving, you’ll need longer exposure time to be able to get a clear picture. A tripod will help keep your camera steady while taking the picture.
Exposure time – Longer exposure time equals more light, which is exactly what you want when photographing the Northern Lights. Set the exposure to 2 seconds. If it’s windy, you can change it to 5 seconds, to avoid any possible vibrations when taking the picture.
Use a timer or a remote shutter – When using a longer exposure time, the tiniest movement can make your camera shake. Using a timer or remote shutter release will reduce blurring from manually pressing the shutter button.
High ISO settings – You’ll want to be able to catch as much of the light as possible, so you want to set the light sensitivity, the ISO, high. This will allow the sensor to capture more light at once. You should set the ISO between 3200-6400.
Wide Angle Lense – A wide angle lens will help you capture more of the light show as you’re able to cover more of the sky. These lenses are specially designed for Full-Frame cameras and offer a better field of view to capture the Northern Lights. Use an aperture of f/2.8 or the widest option in your lens.
Focus – Setting the focus is important in any Northern Lights photo shoot. Set the focus to infinity and focus manually on a distant light – a star if you can – and use this as a marker to help set your focus.
Shoot in RAW – Shooting in RAW as opposed to JPG allows you to keep as much information as possible in your photo, both in the highlights and in the shadows.
Using Your Phone
If you don’t have a DSLR camera and want to use your phone instead, all hope is not lost. The smartphone camera quality has increased rapidly in recent years and it is possible to capture a good photo of the Northern Lights just using the camera settings on your smartphone. Just remember to turn the flash settings off, use manual settings and set the focus. You might also want to look into some photo apps specifically made for taking Northern Lights pictures. The Northern Lights Photo Taker App (available for Apple iOS) for example, is a popular choice for iPhone users.When photographing the Northern Lights with your phone, the perfect conditions are a bright moon and an aurora borealis show with bright and strong colours.
Tips for creating the best possible composition
Now that you have all the technical details in the bag, it’s time to have a look at the composition to make sure you get the best possible picture. Below are some tips that can help you get your Northern Lights photos to the next level.
1) You want a picture of the sky, but don’t forget about the ground
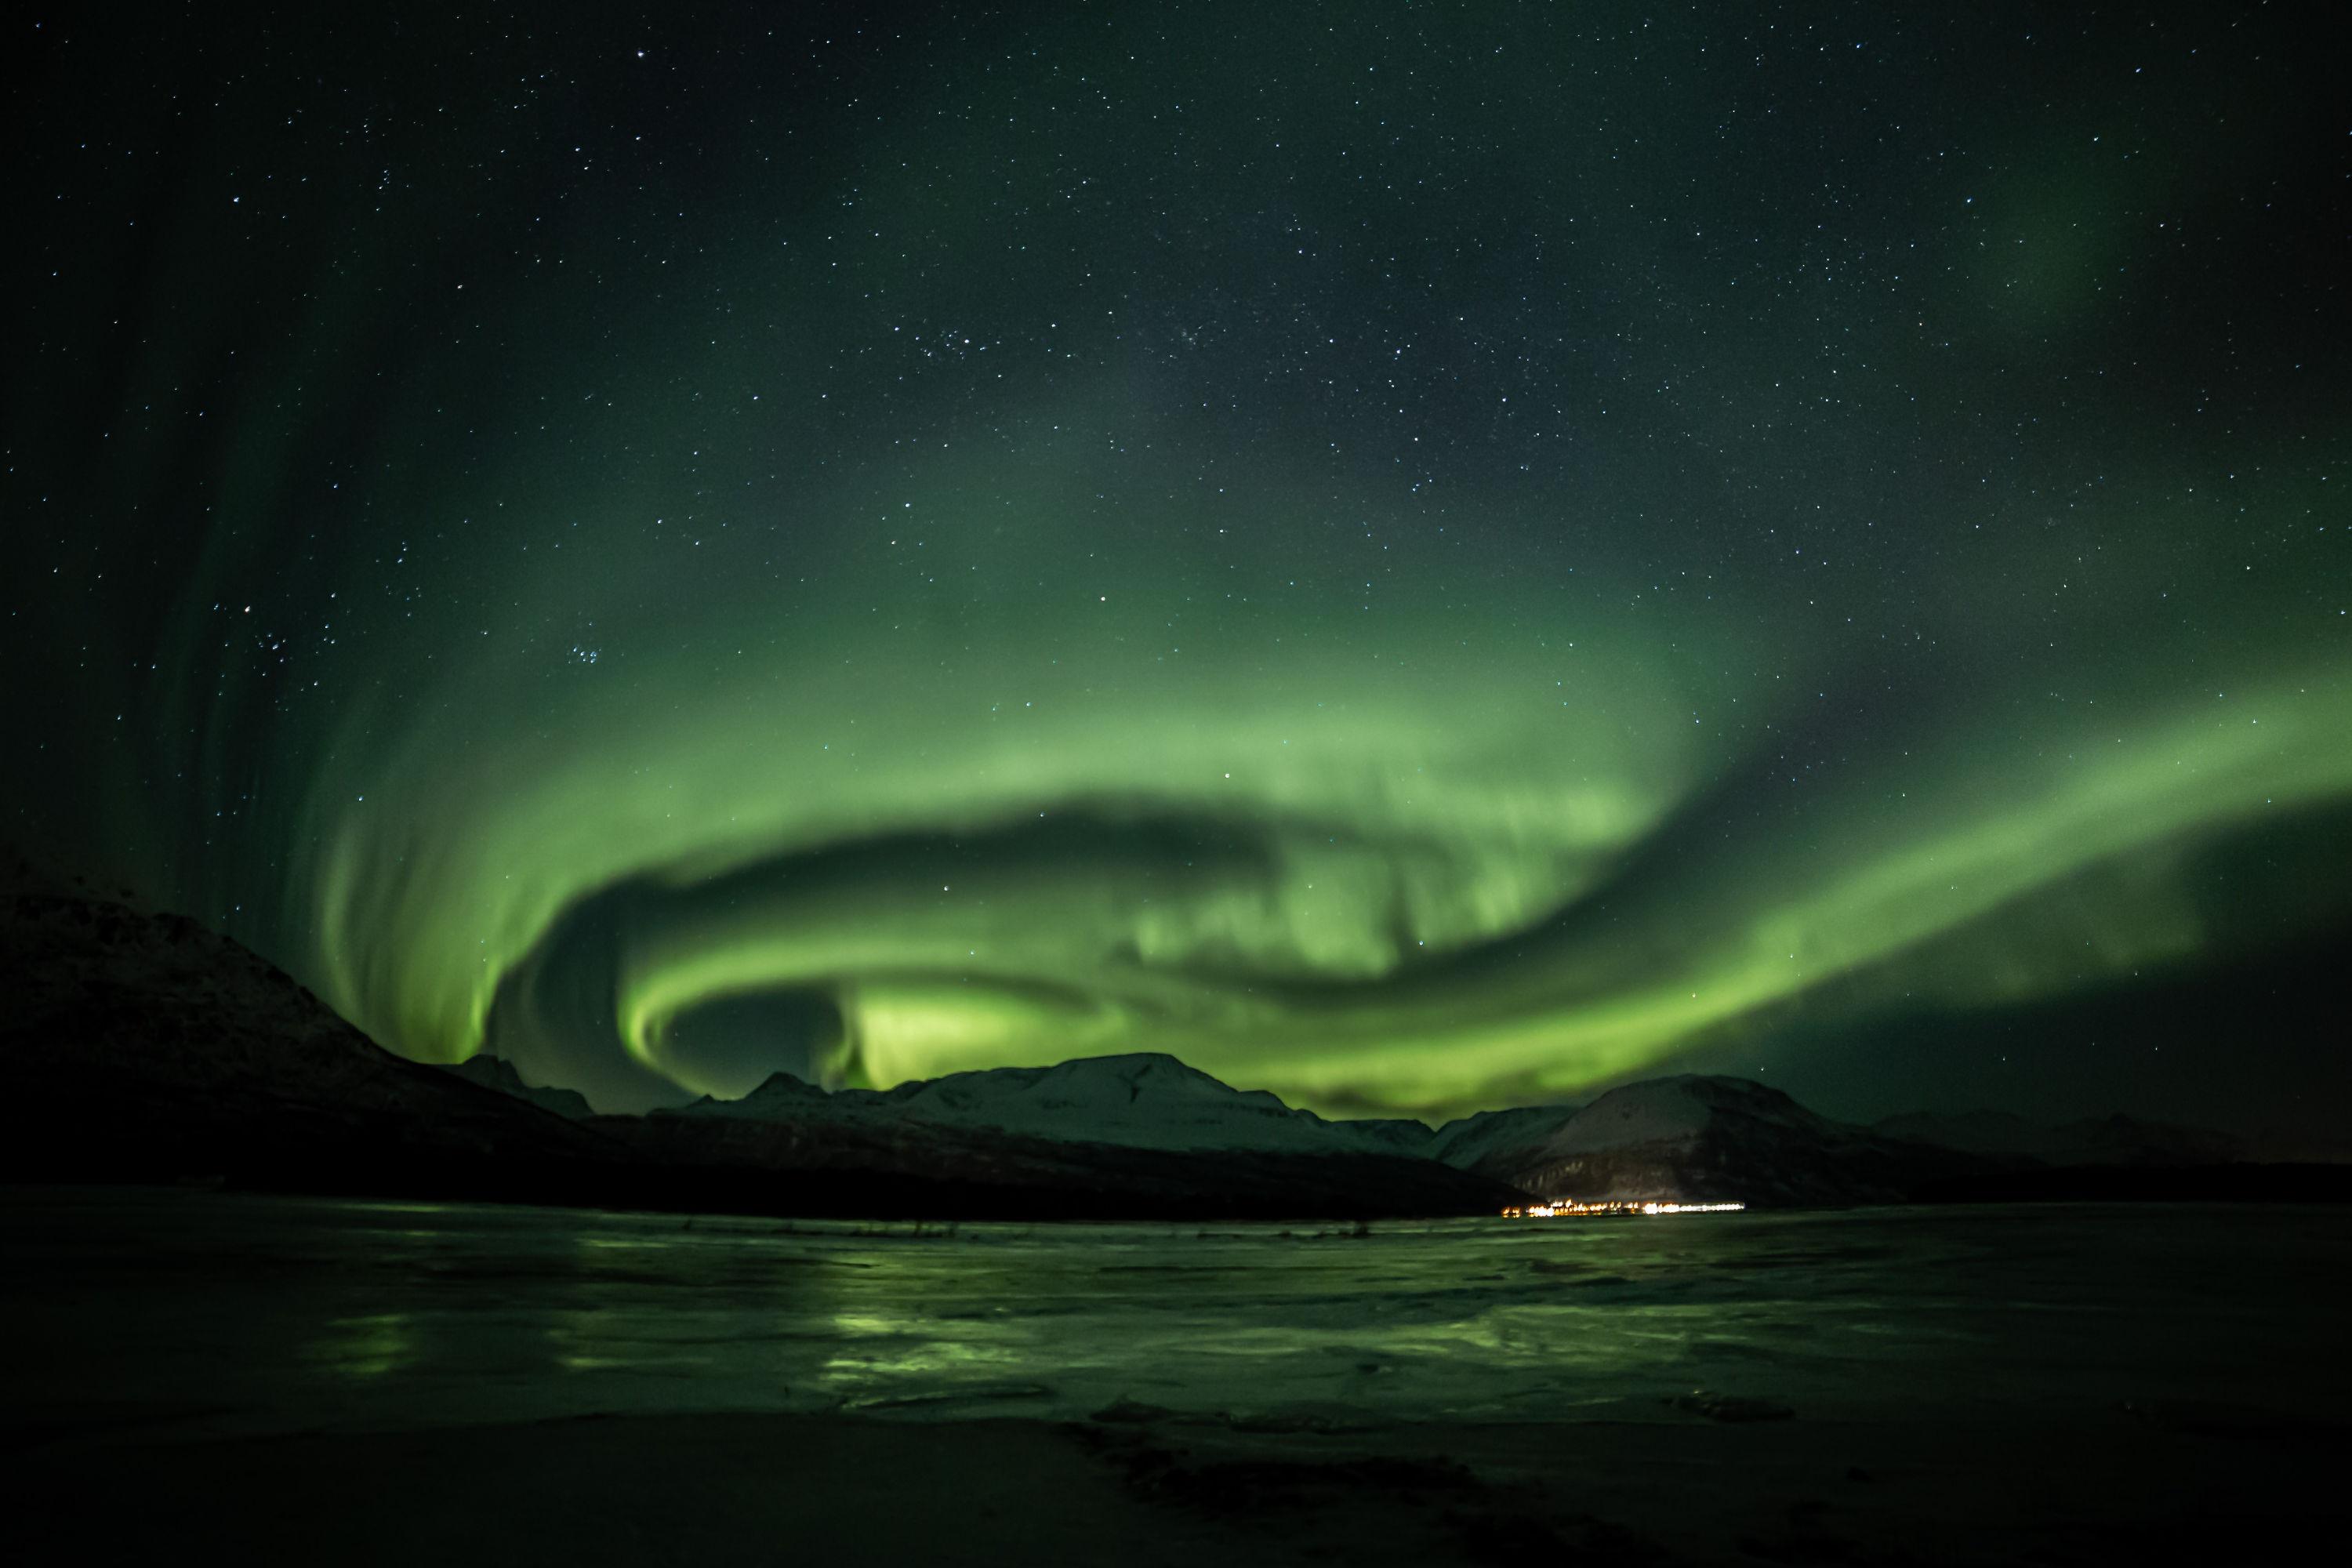
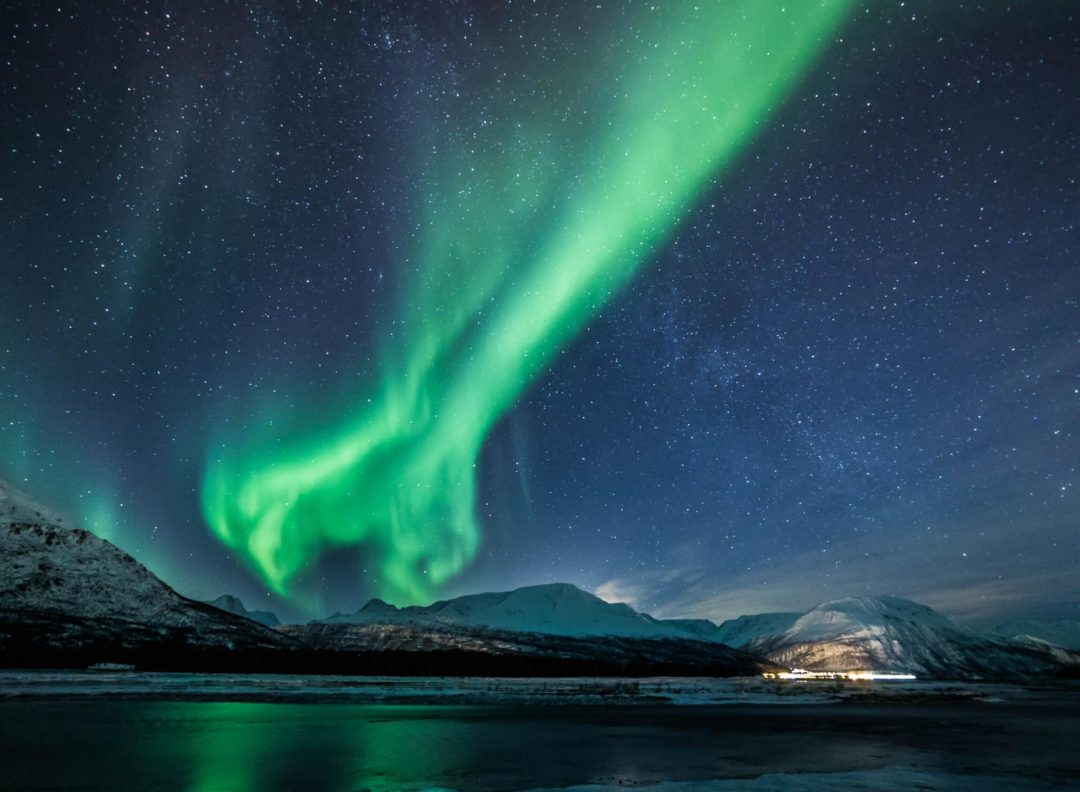
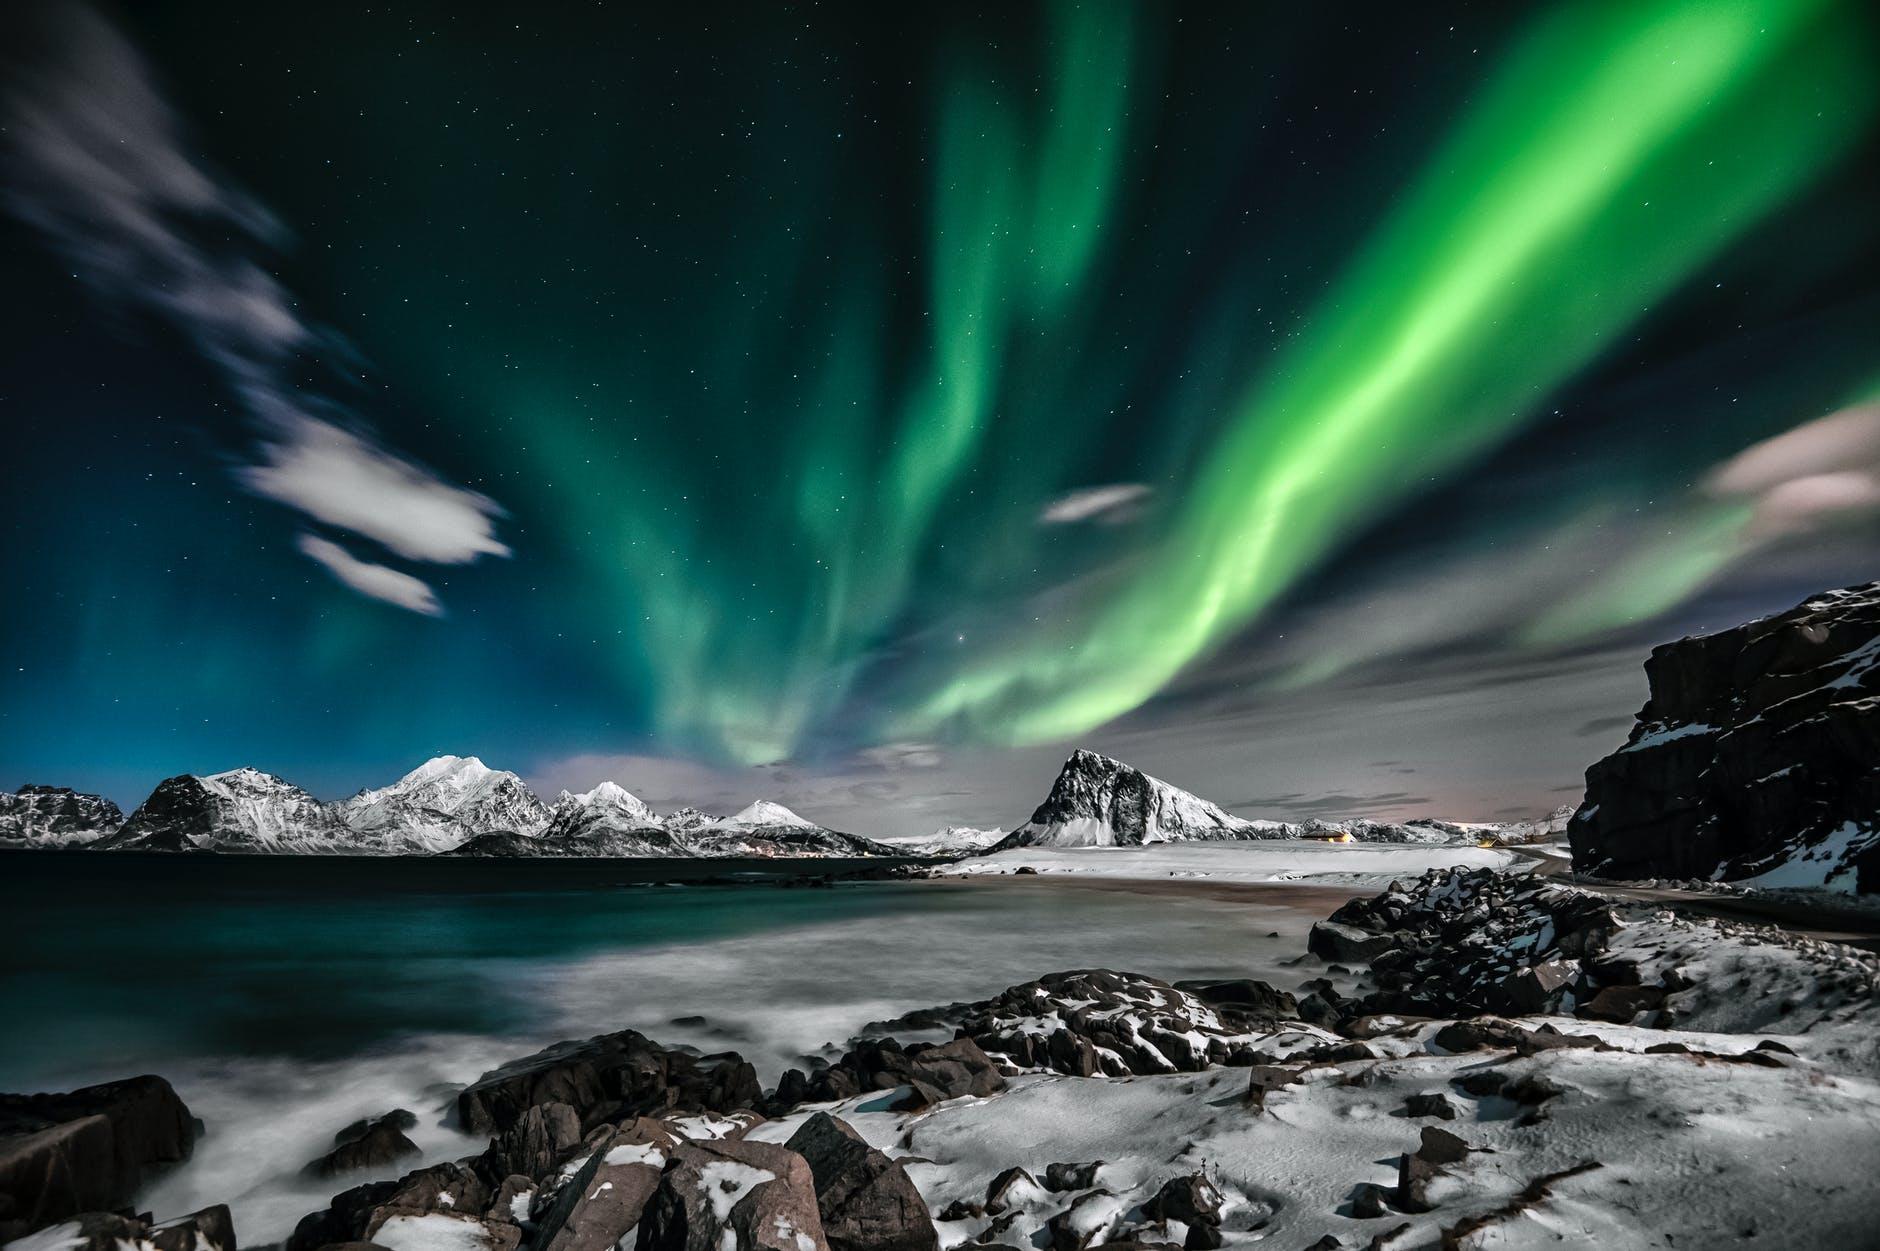
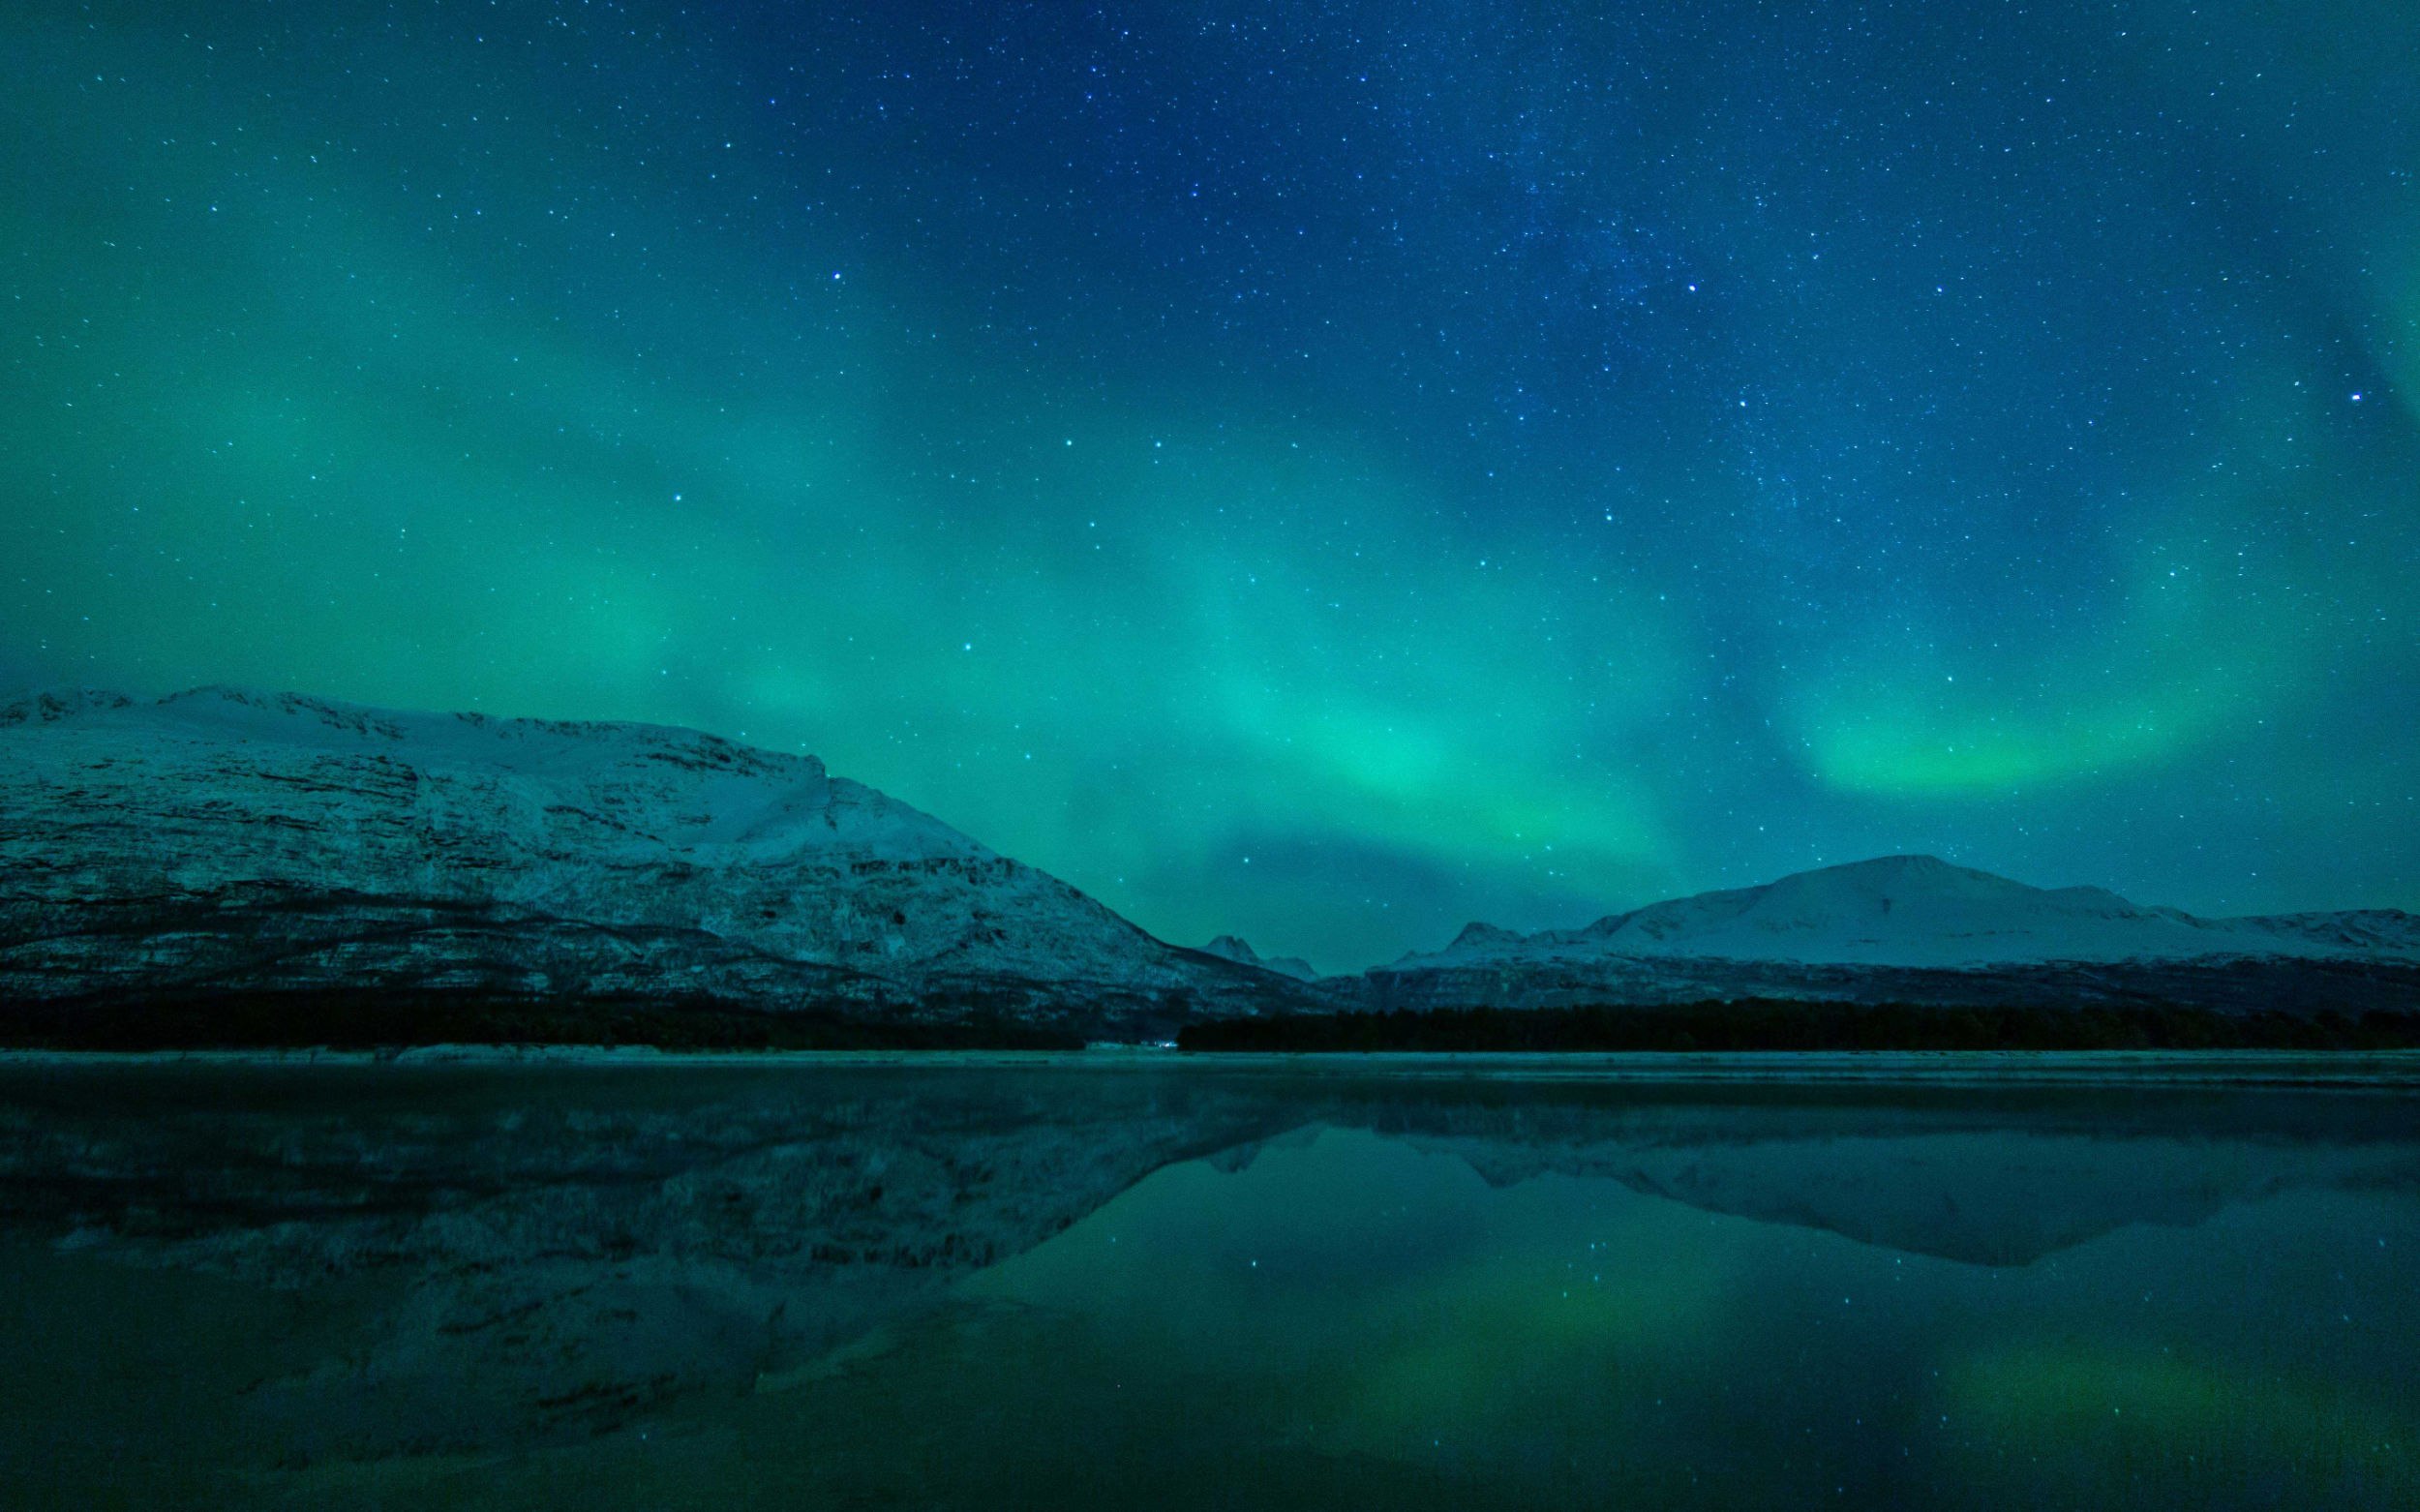
When photographing aurora borealis people often aim their camera towards the sky. The phenomenon is a beautiful sight, so that is totally understandable. But to create the right feeling, you need to include more elements in your photo.
2) Create a Northern Lights reflection
Including elements that can reflect the lights, like water, snow or ice can really do wonders to your picture. If you manage to create a Northern Lights reflection, a pro tip is to place the horizon in the middle of the frame.
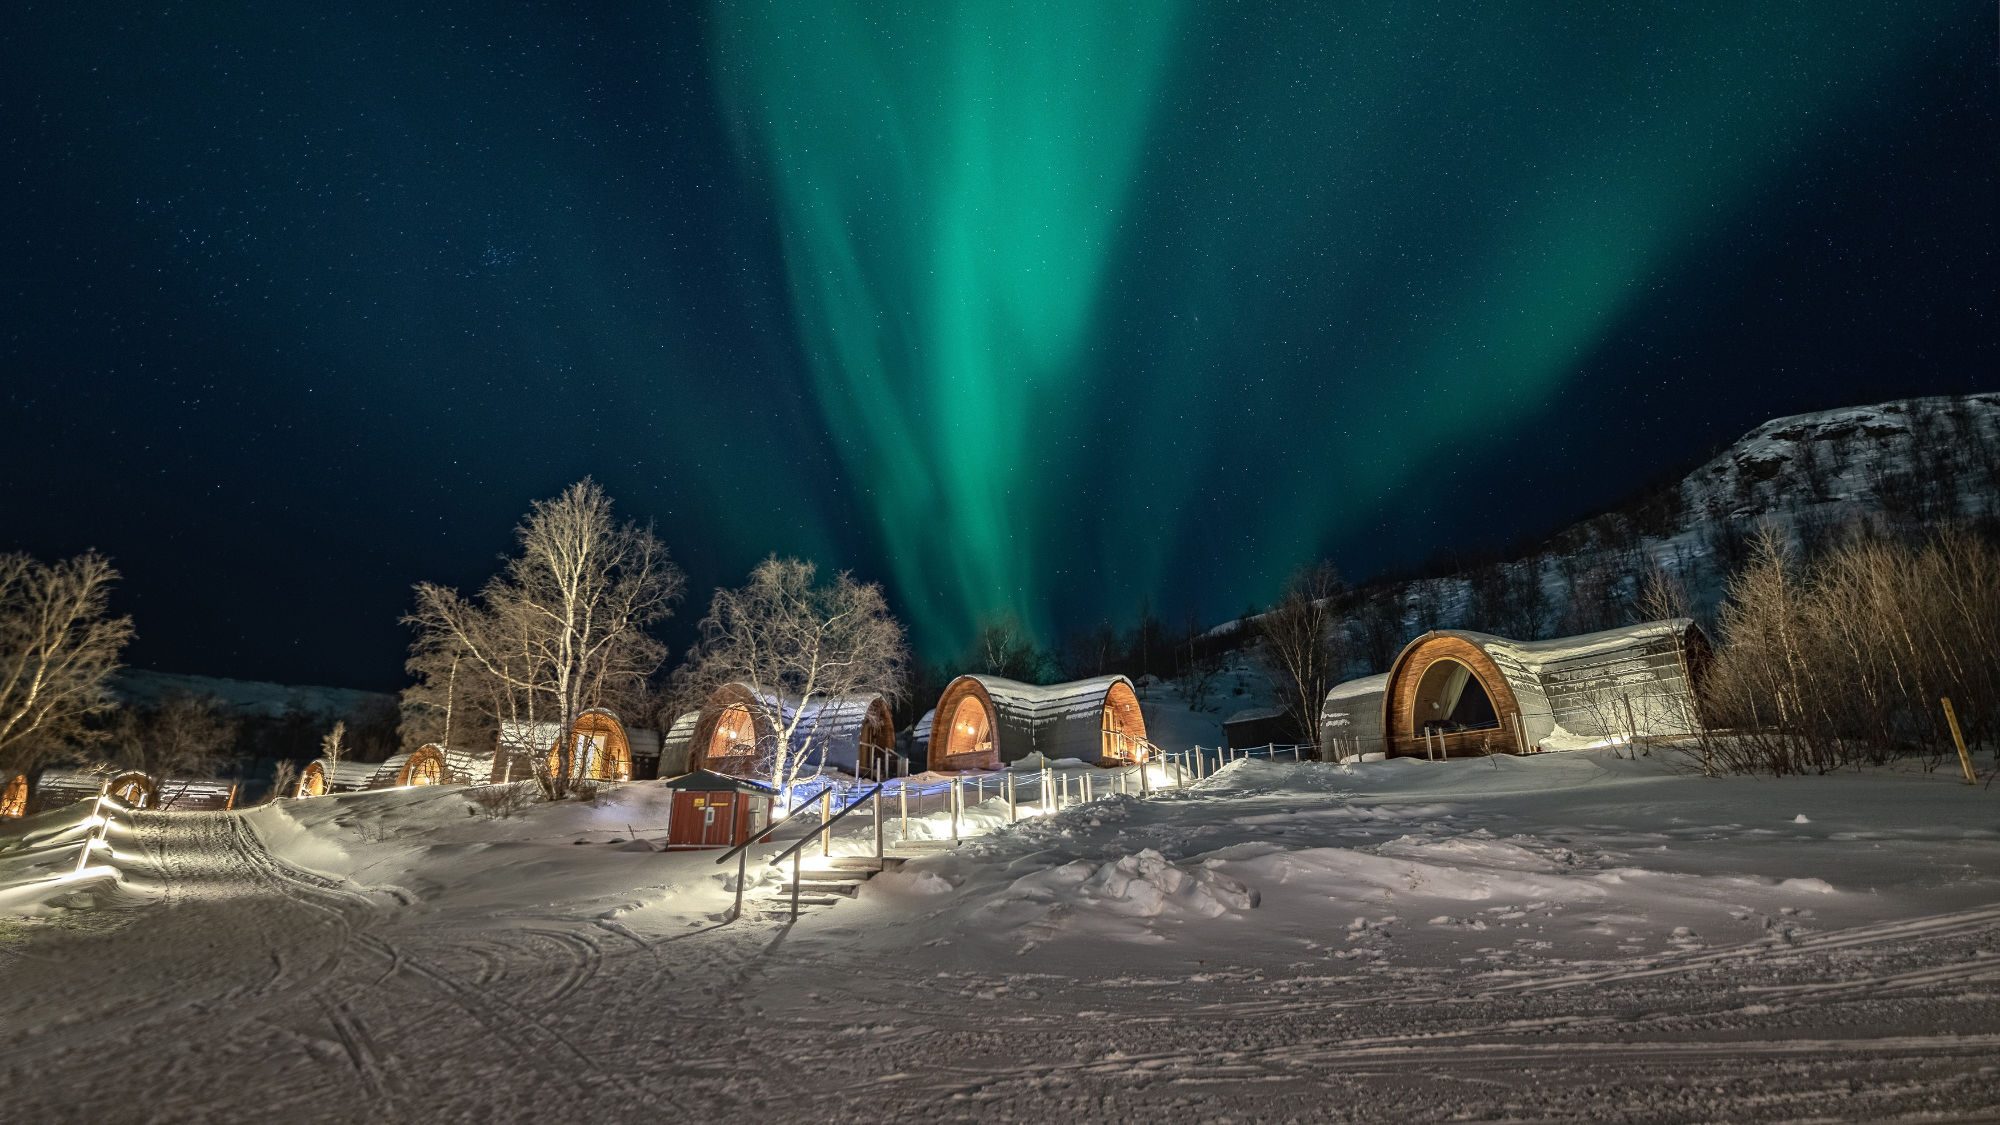
3) Include man made elements
Including buildings or other man made elements in your picture can help create a sense of scale. This will contribute to set the right ambiance and help your viewers see just how majestic the green lady really is.
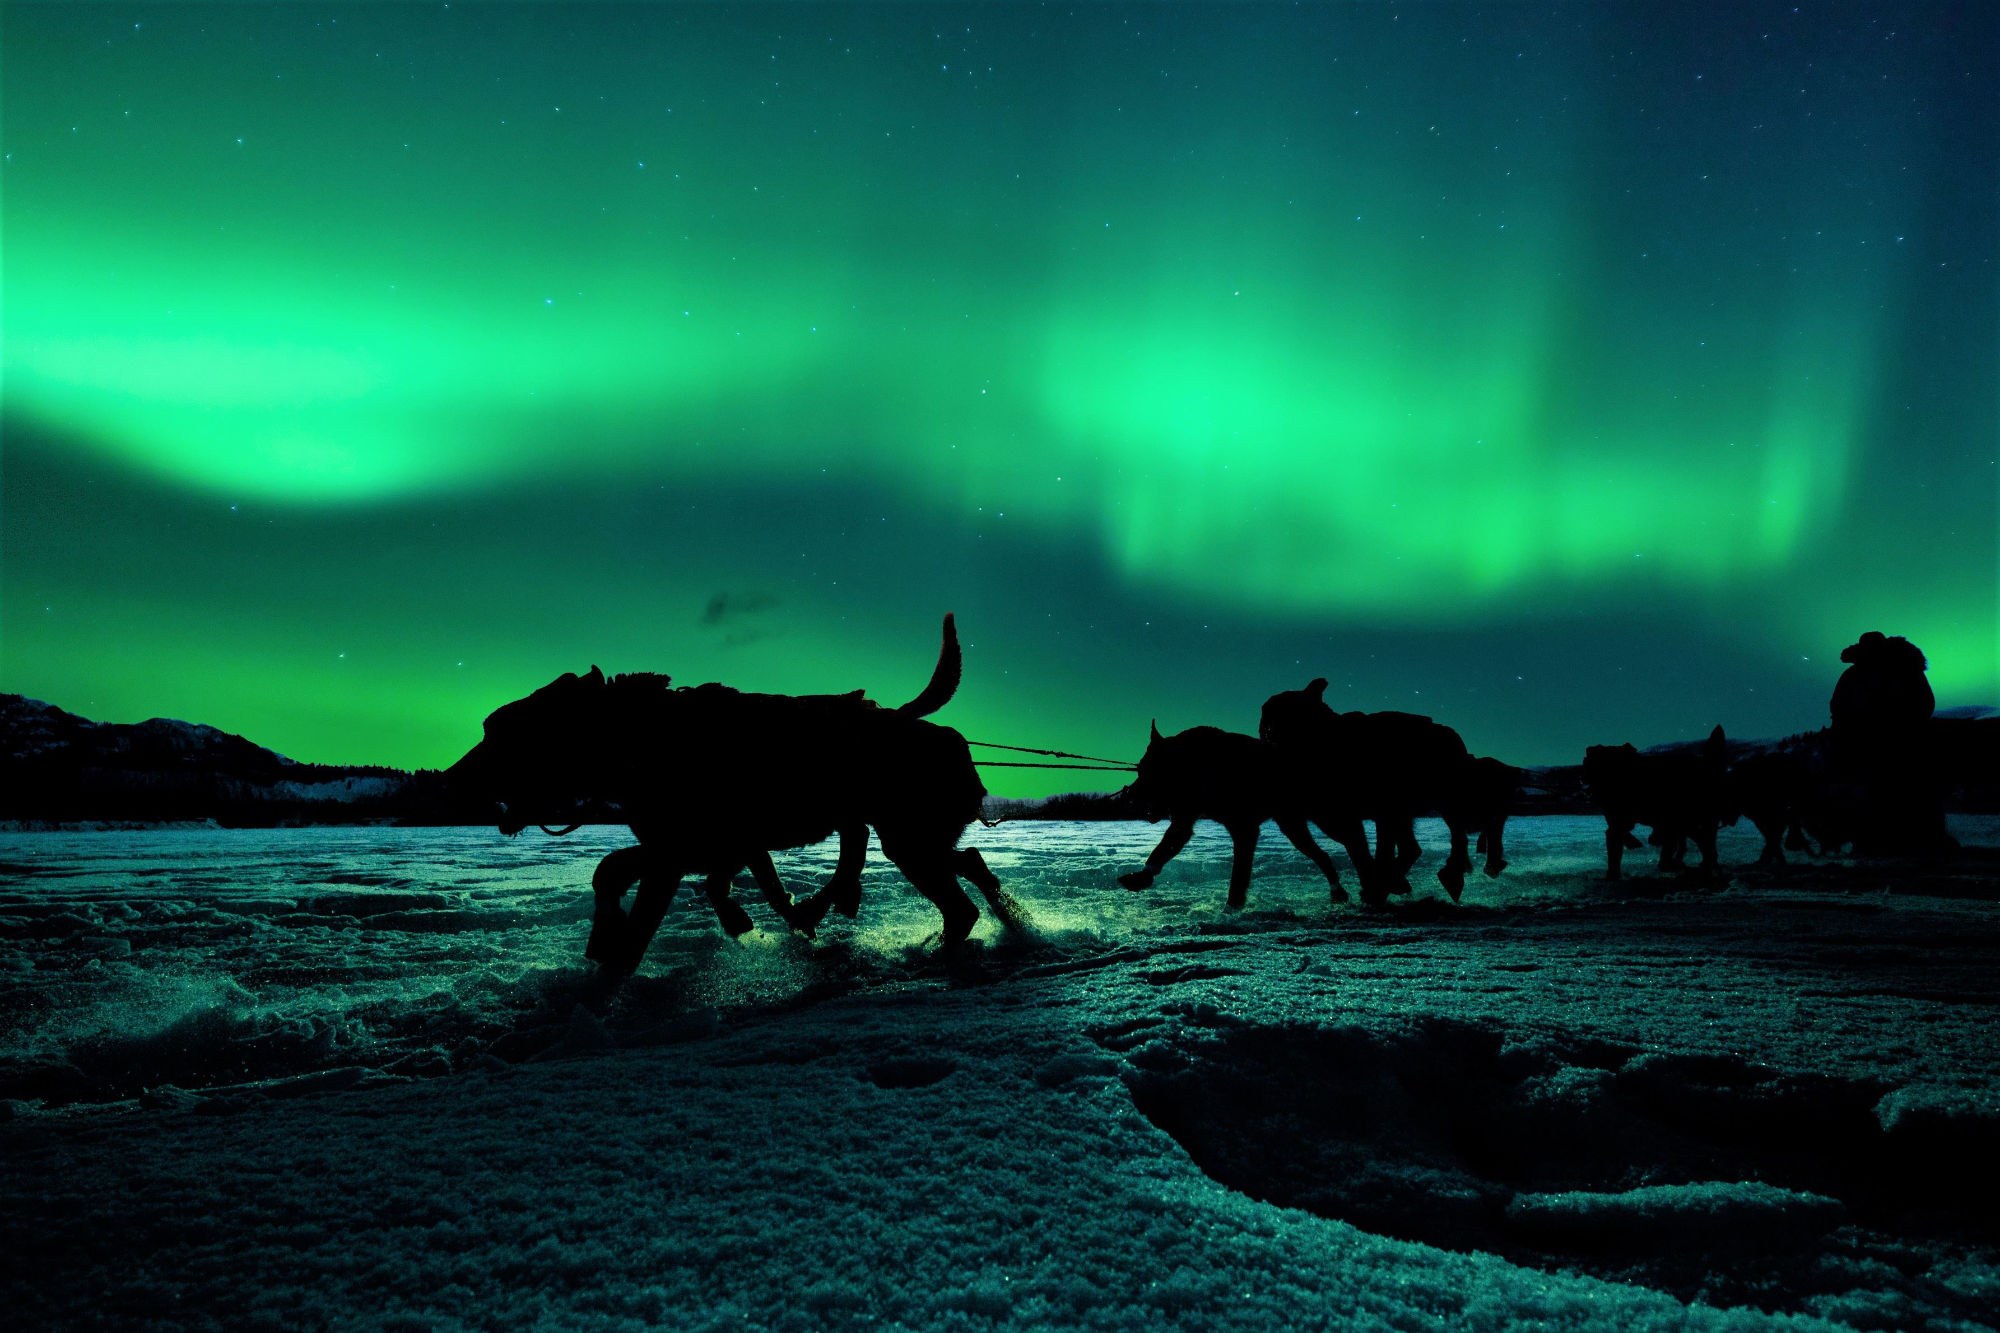
4) Create an interesting silhouette
Due to the long exposure time it can be tricky to include people and animals, as any movement will cause blurry shapes to the pictures. But if you shoot against the lights, you can create some really cool silhouette.
5) Look for compositions according to the movement of the lights
Once you have your million dollar shot in the bag, remember to have fun with it and try a few different things. Play around and play with angles with taking your pictures and look for compositions according to the movement of the lights.